When splicing together two lengths of fiber optic cabling, you have to choose between the two known methods – fusion splicing and mechanical splicing – which both essentially produce the same result – a secure connection between two formerly separate lengths of fiber.
However, how do you choose between them? Is one method better than the other? Well, in this article, we take a closer look at both, to provide some clarity on the subject. By reading to the end, you’ll know what the pros and cons are of each, how each connection is created and you’ll be in a better position to make a considered decision.
So, without any further delay, let’s begin.
Defining Mechanical & Fusion Splicing
The ultimate goal of cable splicing is to create a secure connection between two or more sections of fiber in a way that allows the optical signal to pass through with minimal loss. As we mentioned already, both mechanical and fusion splicing achieve this goal, but they do so in very different ways.
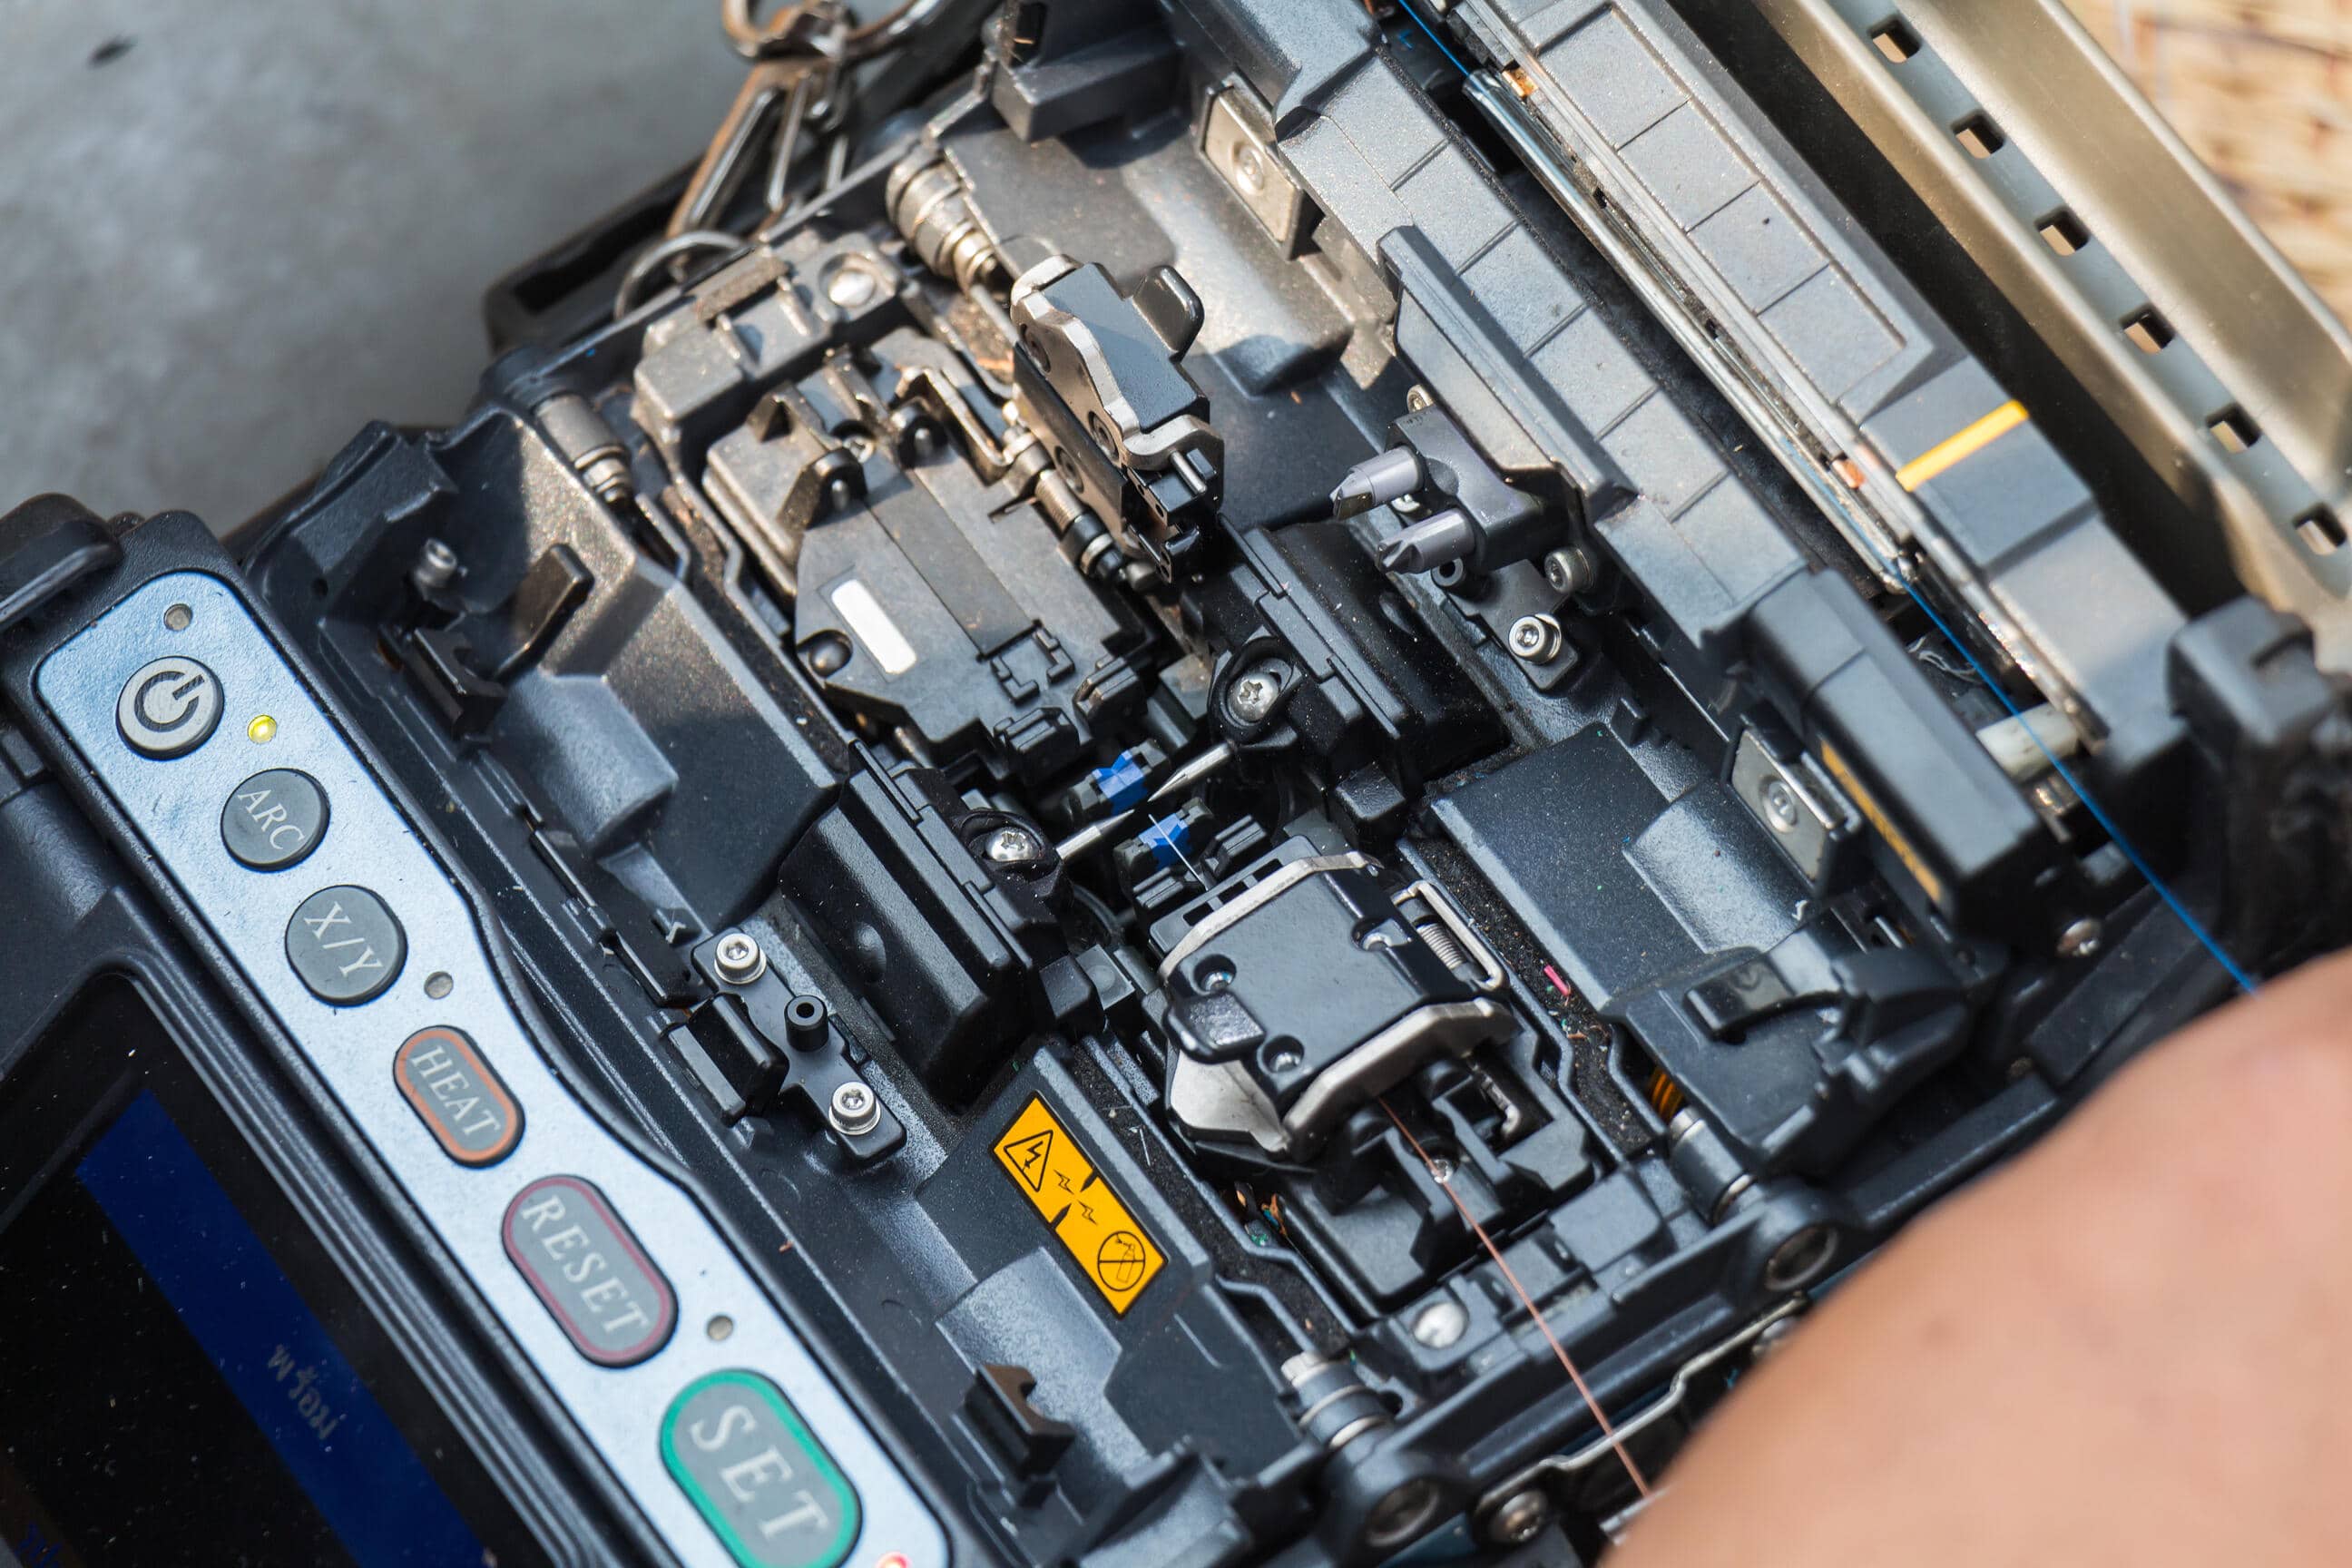
Fusion Splicing
Firstly, fusion splicing involves melting the two sections of fiber permanently together. This is achieved with an electrical device aptly known as a fusion splicer, and it’s something that not only melts the two parts together with an electric arc, but it is also able to align the fiber to create a good connection precisely.
Mechanical Splicing
One of the main differences with mechanical splicing is that it doesn’t permanently join the fibers together, instead of locking and aligning the pieces together with a screw mechanism. This method requires no heat or electricity at all.
The Fusion Splicing Steps
With both mechanical and fusion splicing techniques, there are four distinct steps to the process. The first two steps for each are almost identical, but the final two are where the differences lie.

Fusion Splicing Step 1 – Preparation
To prepare the fiber for splicing, you need to strip away the jacket or sheath that surrounds the internal glass fiber. You’ll be left with bare glass when you’re finished, which should then be cleaned with an alcoholic wipe.
Fusion Splicing Step 2 – Cleaving
The next step involves cleaving the fiber, which shouldn’t be confused with cutting. Cleaving means that the fiber should be lightly scored and then flexed until it naturally breaks. To create a sound connection, you need a good, clean, smooth cleave that’s perpendicular to the fiber it’s being connected to in the fusion splicer.
 Fusion Splicing Step 3 – Aligning & Fusing
Next, you’ll be going through the aligning and fusing steps which involves positioning each cleaved fiber in place and fused. In most fusion-splicing machines, there’s a magnifying window or viewer that allows the fiber ends to be precisely positioned more easily. Exact positioning is the aim so that the light can pass through with minimal distortion, reflection or loss of signal. Once the correct alignment is achieved, the two ends of the fiber are melted together with a high-voltage electric arc.
Fusion Splicing Step 4 – Fiber Protection
The new fiber connection now needs to be protected, so that its integrity is maintained when it’s handled. Fusion splices typically have a tensile strength of around 0.5-1.51lbs and aren’t damaged by day to day handling. However, joins still need to be protected against bending and pulling forces that occur when they’re moved around.
Protection is typically achieved by placing a splice closure around the connection, which is then heat shrunk into place.
The Mechanical Splicing Steps
We’ll skip to step three at this point, as step one and two are the same as with fusion splicing.
Mechanical Splicing Step 3 – Joining the Fibers
Unlike with fusion splicing, you’re not permanently connecting the fiber ends together, so it requires no heat. The equipment used for mechanical splicing contains an index matching gel, which helps to match the index of refraction of the fiber cores. This helps to lower the loss of the connection.
Mechanical Splicing Step 4 – Fiber Protection
A separate step isn’t strictly necessary for fiber protection with mechanical splicing, as the mechanical splicer is a protector in itself and does so automatically.
Choosing Between the Two
The factors that will determine which of the two methods you use will boil down to performance and cost. While there’s a higher initial outlay for fusion splicing equipment, the value of each splice tends to be much lower than mechanical splicing. If you do much splicing, then the fusion method can work out less expensive in the long term, but if you don’t, then mechanical splicing comes into its own.
Performance
Insertion loss (loss of signal power) is higher with mechanical splicing at around 0.2bB-0.75bB, and this is because the fibers are technically just aligned and not connected physically. Insertion loss with fusion splicing is typically less than 0.05dB – primarily because the physical connection offers a more permanent, exacting connection.
Summary
Mostly, the benefits of fusion splicing over mechanical splicing are improved reflectance performance, and lower loss, which is why many Community Access Television (CATV) and telecommunication companies choose to use it for their long haul networks.
However, these same companies may use a combination of both methods in their local cable runs, with fusion splicing being applied in networks that use analog video signals that call for minimal reflection. Mechanical splicing is often the preferred choice when a signal loss is not such a significant concern – something that can be said for the majority of LAN applications.
It would seem that if initial cost was not a consideration, the fusion method is far superior regarding performance, protection and per splice expense, so there’s not much of a debate to be had about which is best. However, when a minor signal loss isn’t a big issue, then mechanical splicing is a more than a viable option – so long as the amount of connections being created isn’t excessively high, making the per splice cost prohibitive.